DBeaver DB Connection and SSH Tunnel
You will have had to complete the prerequisite steps before continuing with these instructions.
-
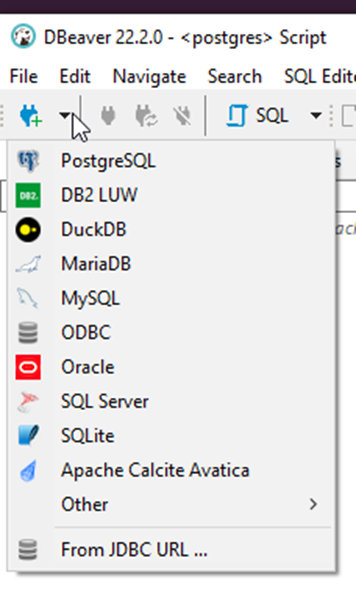
Click new connection and PostgresSQL in the upper right under the plug+ symbol.
-
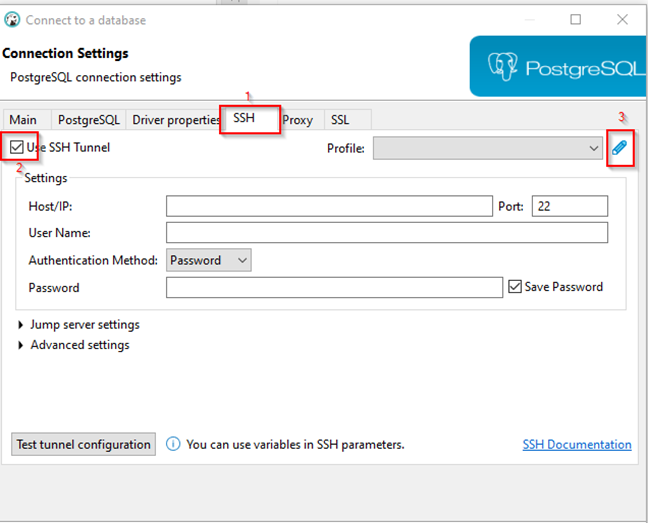
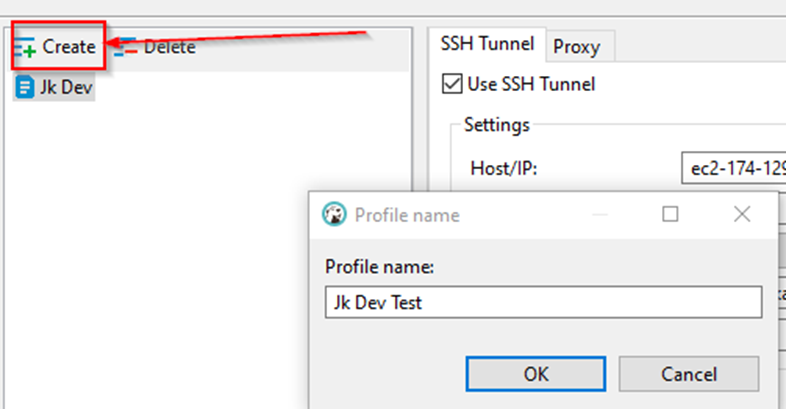
Click on SSH tab > Check use SSH tunnel > Then click the pencil icon to edit the profiles. Then click create.
-
Give your profile a meaningful name and click OK.
-
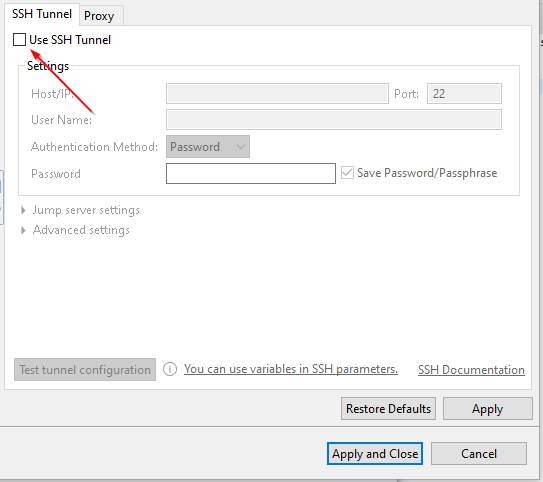
Check the box to Use SSH Tunnel.
-
Enter IP address in Host/IP line - Provided by EA. The username will be
tunnel-user. Port will be22. SelectPublic Keyas the authentication method.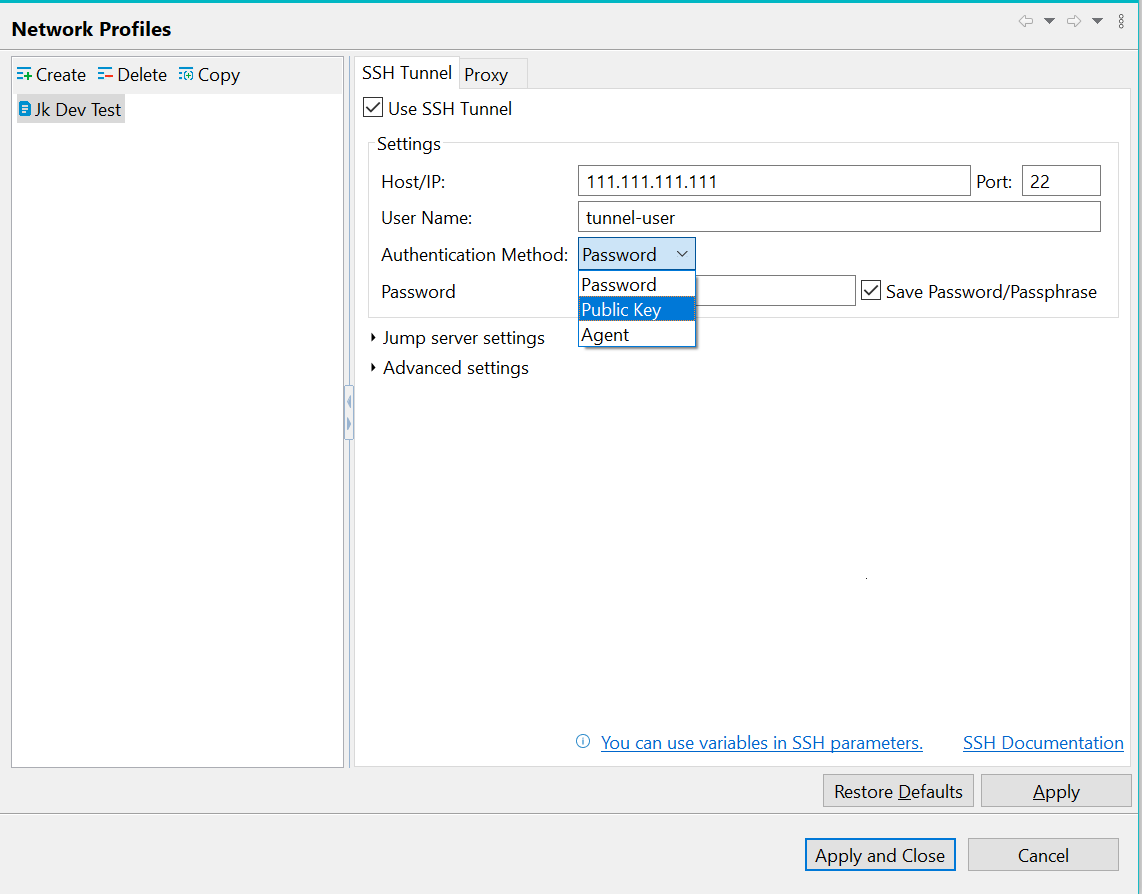
-
Click the folder icon and navigate to the saved private key file created for GitHub.
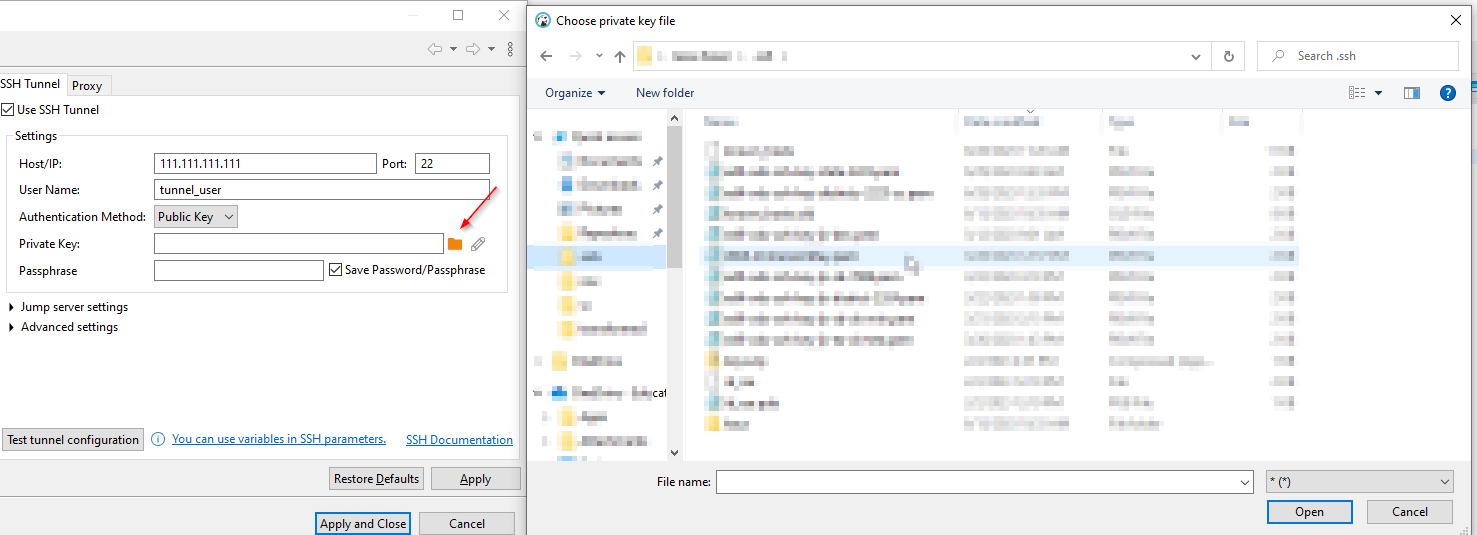
NOTE: If a passphrase was used to create the SSH key, provide the passphrase in the box below the private key line. Check the "Save Password/Passphrase" box to ensure the passphrase is saved for subsequent connections.
-
Click test connection. A successful connection should be established. If there is an error, please check your configuration and try again. Click OK after a successful test.
-
On the main SSH tab, make sure your profile is selected.

-
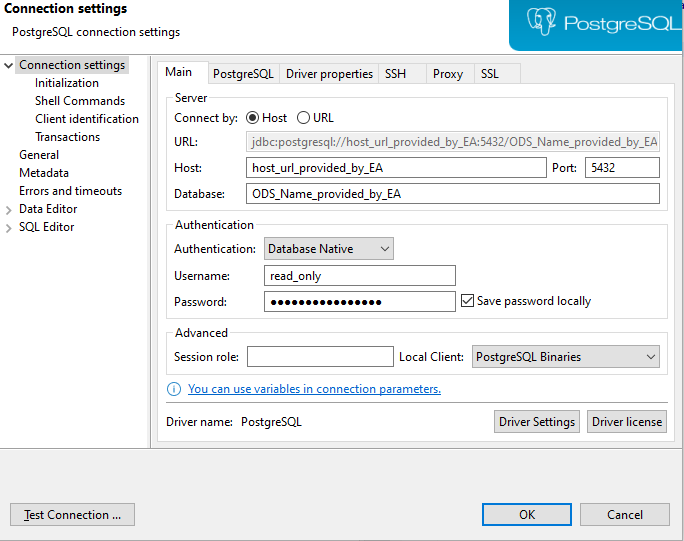
Navigate back to Main tab. Host, Database, Username and Password will be provided by EA. Be sure to check box that says "Save password locally".
-
Test connection and click OK if it is successful. If not, please check configuration and retry. You can click OK on the Main tab once a successful test connection is established.
-
Once a connection is created in the Database Navigator, you can rename the connection by right clicking on it and choosing Rename from the pop-up menu.